Taskbar Hero Sorcerer Build: Skills, Gear, and Leveling Path
Build Sorcerer around repeatable area damage, then add enough cooldown, cast speed, and survival to keep the formation stable. This guide separates early leveling, level-70 choices, farming, and boss-push decisions without pretending one static list is always best.
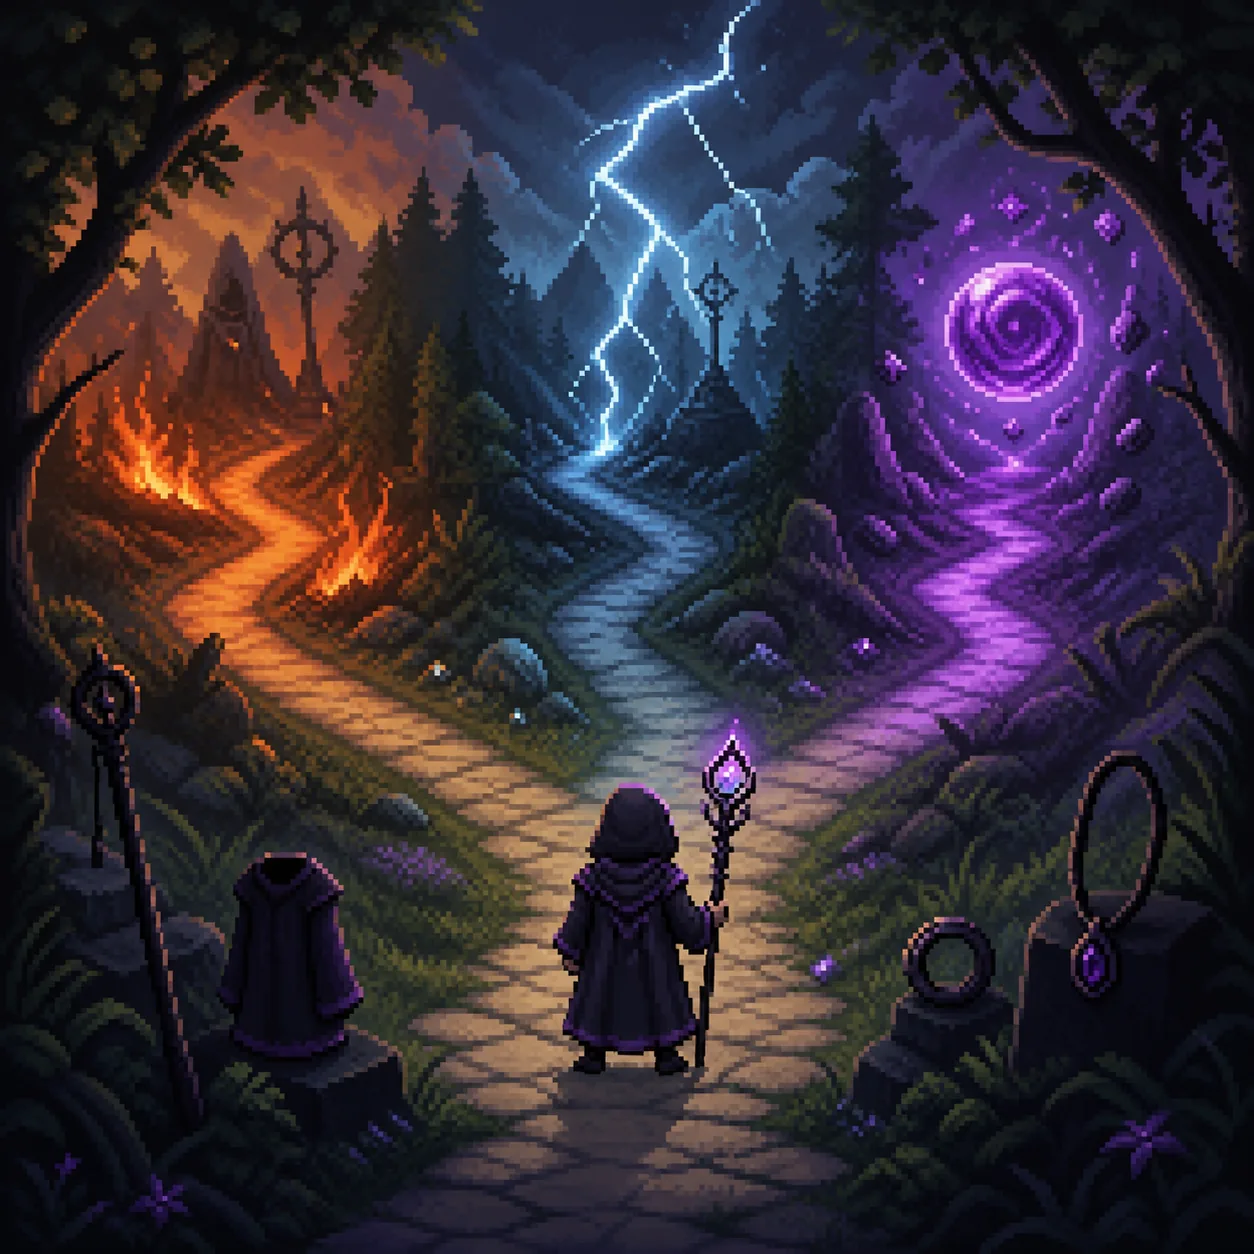
The best Sorcerer build is stable area damage, not a fragile damage ceiling
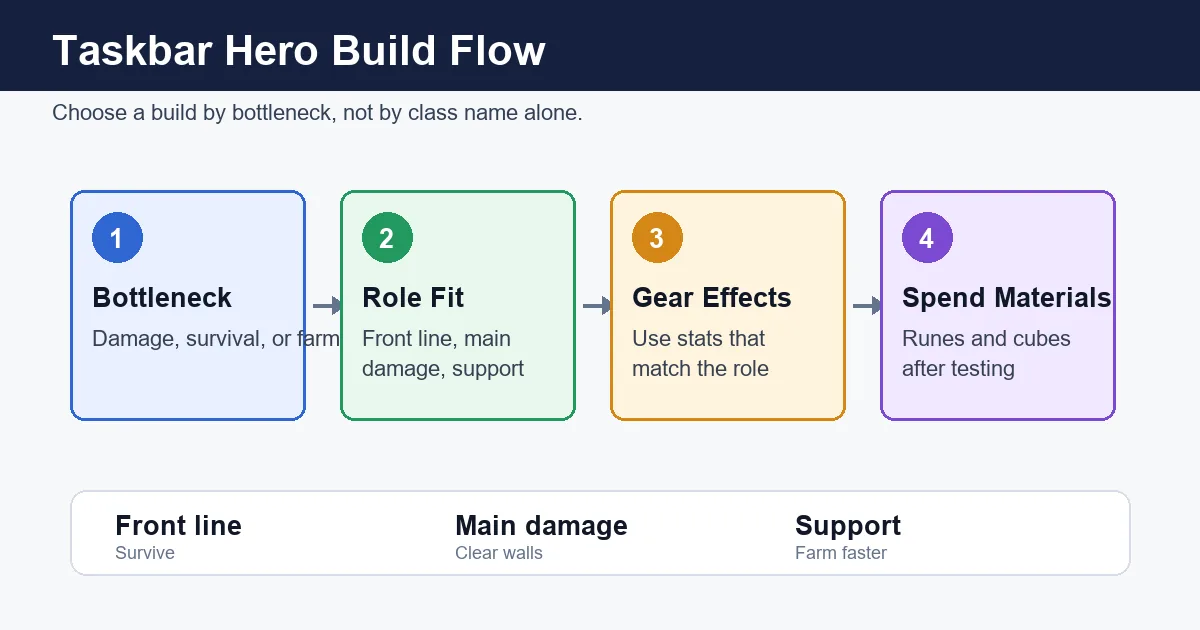
For most accounts, start Sorcerer as the formation's area-damage slot. Use a durable front line to buy casting time, then improve cooldown, cast speed, area coverage, and the elemental effects that match the skills you actually use. The best Taskbar Hero Sorcerer build changes with your Act, gear pool, and team: a fast farming setup can be different from a boss-push setup. At level 70, keep the same decision order—solve the current bottleneck first, test one change, and only then spend rare runes or cubes.
- Use Sorcerer to clear groups and shorten repeated wave fights.
- Keep the front line stable before trading survival for more spell damage.
- At level 70, choose the spell path that fixes your real wall instead of copying a universal best-build list.
What the Sorcerer build is trying to do
Sorcerer is valuable when several enemies survive long enough for area spells to matter. The role is not simply “equip the highest magic number.” It is to turn repeated casts into reliable wave control while another class absorbs pressure or handles a single hard target. If the team dies before Sorcerer completes a rotation, more damage on the back line may produce no practical gain.
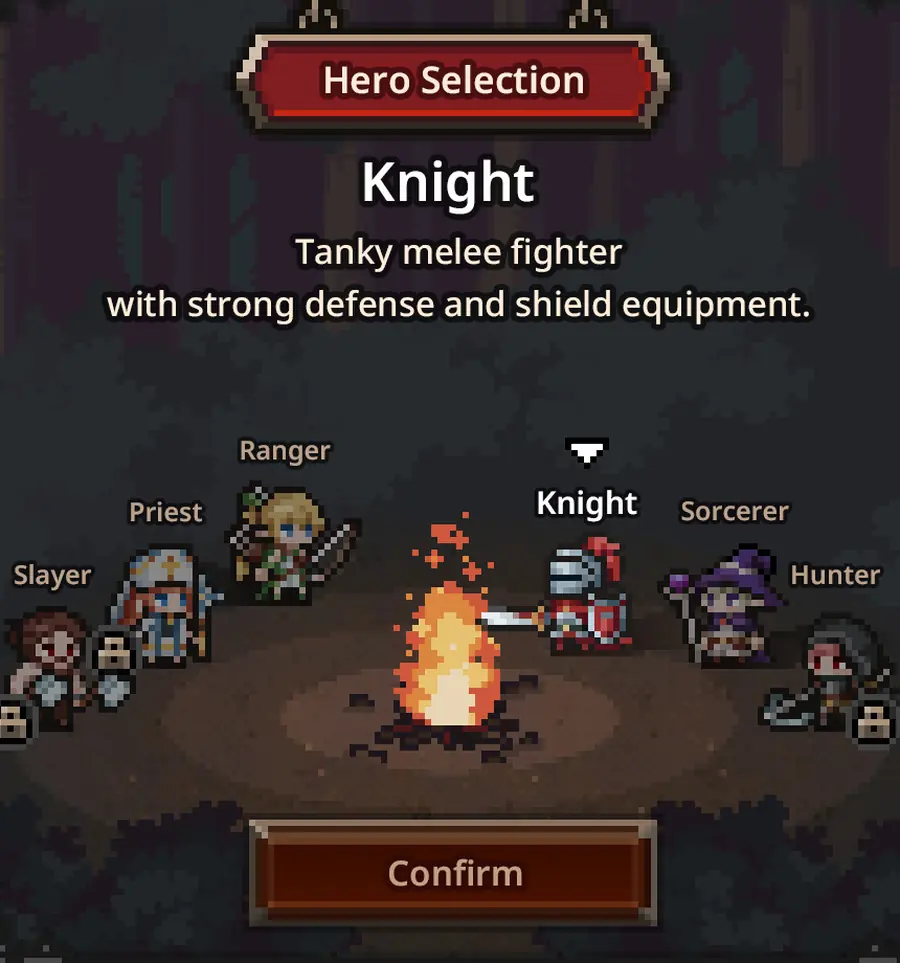
Use the class-selection screen as a reminder to assign jobs before spending materials. A Sorcerer build can lean toward fire area damage for general waves, lightning or burst for tougher targets, or a safer mixed route when the account lacks defensive support. Exact skill values and item availability can change, so the guide focuses on choices you can verify in your own runs.
Wave clear
Prioritize repeatable area coverage when normal stages are slow because several enemies remain alive together.
Rotation uptime
Cooldown and cast speed matter when a spell rotation is strong but too slow to repeat before the next wave.
Protected damage
Treat survival as part of damage. A Sorcerer that keeps casting over a long idle session beats a fragile burst setup that fails early.
Early leveling to the best level-70 Sorcerer direction
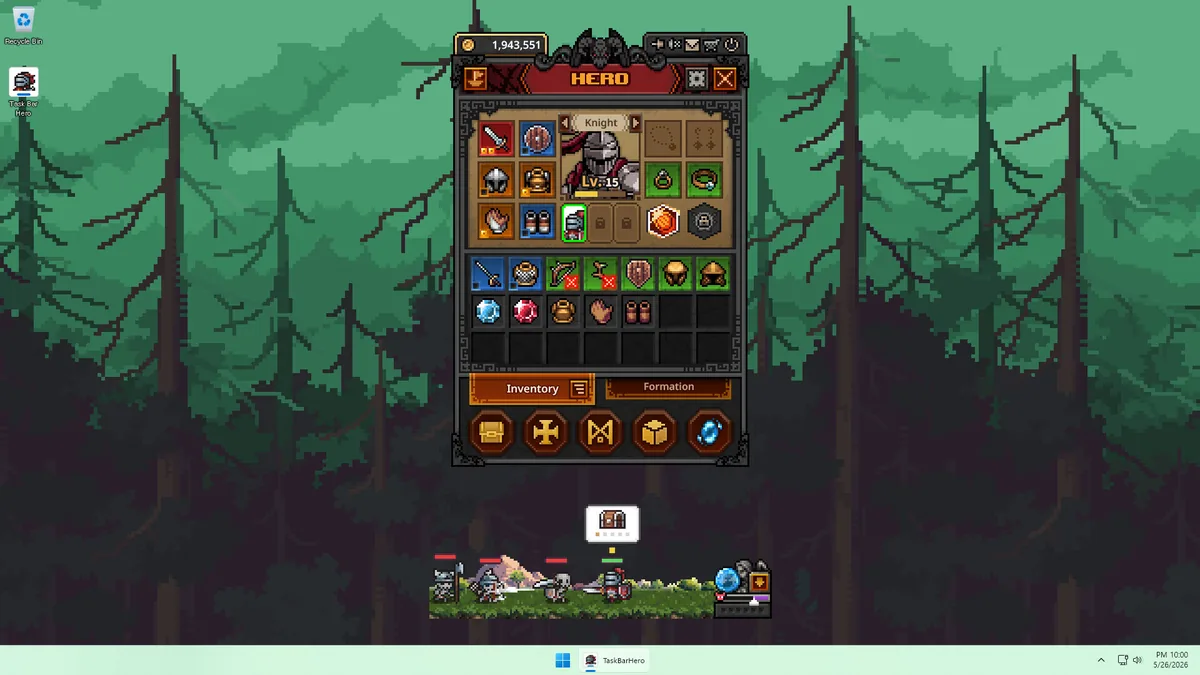
During early leveling, avoid splitting every upgrade across unrelated effects. Build a simple loop: unlock a dependable area spell, improve the parts of the rotation that reduce downtime, and add survival when the formation starts losing runs. Do not spend premium materials just because a new item has a higher rarity; first check whether it improves the Sorcerer's actual job.
From the middle levels toward level 70, decide whether your account needs faster farming, stronger burst for a progression wall, or more consistency for long idle sessions. A level-70 Sorcerer build is a decision point rather than a finish line: keep a general wave-clear route for farming and switch only the relevant spell, gear effect, or support when a boss or Act wall demands it.
Early levels
Use the most reliable area spell available, keep the rotation simple, and spend small upgrades only after the current stage is repeatable.
Mid-game
Add cooldown, cast speed, or elemental scaling when those effects shorten wave time; add HP or defense when the front line cannot hold.
Level 70
Keep one farming route and one push route in mind. Choose burst for a hard wall, area uptime for waves, or stability when long sessions fail.
Skill, gear, rune, and cube priorities
The most useful Sorcerer stat is the one that removes the reason your current run fails. If enemies are spread across a wave, area coverage and cast uptime are usually more useful than a small peak-damage increase. If a boss survives after the team is otherwise safe, burst, critical effects, or a more focused elemental route may be worth testing. Keep the recommendation conditional because live balance and item pools can change.
Use the same stage and a similar run length when comparing two items. Record clear time, failures, and reward output. Runes and cubes should amplify a setup that has already proved useful; they should not be used to rescue an untested combination. The parent build guide covers cross-class planning, while this page owns the Sorcerer-specific decision boundary.
Skills
Keep a dependable area skill active for farming. Add a burst or focused option only when it solves a visible progression wall.
Gear effects
Look for effects that improve spell uptime, area coverage, elemental output, or consistency. Rarity alone is not a build plan.
Runes and cubes
Use scarce materials after short tests show that the item is likely to remain useful in the chosen Sorcerer route.
Formation choices for farming, pushing, and bosses
For farming, place Sorcerer where it can cast continuously while the front line prevents early collapse. Pair area damage with a stable support or recovery option when the farming stage is already safe; add more damage only when clear time is the limiting factor. This is often more efficient than forcing the highest unlocked zone and losing runs.
For progression or boss-like fights, keep the Sorcerer protected and use the rest of the formation to cover the spellcaster's weakness. A Ranger-style single-target slot can help when one enemy outlives the wave, while a Priest or durable front-line role can preserve rotation uptime. If you must choose between a larger number and a completed rotation, test the completed rotation first.
Farming
Favor area coverage, cast uptime, and a stage that clears repeatedly without supervision. Track rewards per equal time, not only the highest stage.
Progression
Keep enough survival to finish the wall, then move damage or burst into the slot that actually prevents the clear.
Bosses
Test focused damage or a second single-target role when waves are easy but one target remains alive too long.
A repeatable Sorcerer build test
A good build test changes one meaningful variable at a time. Choose a stage that represents the problem, run the current setup for a fixed interval, then change one spell, item, rune, cube, or formation slot. Repeat the same test at least a few times because idle-game results can vary with wave timing and enemy patterns.
Keep the change only when it improves the metric you care about. Faster clear time is useful for farming, fewer failures matter for overnight play, and better boss completion matters for progression. If a setup improves one metric but breaks the purpose of the page, record that trade-off instead of calling it the best Taskbar Hero Sorcerer build for every situation.
Baseline
Record the current stage, run length, clear time, failures, and approximate rewards before changing the setup.
One change
Change only one Sorcerer skill, gear effect, support slot, rune, or cube decision so the result remains explainable.
Decision
Keep the change only when repeated runs improve the target metric without creating a larger survival problem.
Sorcerer build troubleshooting
Use the failure signal to choose the first change instead of rebuilding every slot at once.
| Signal | Change first | How to test |
|---|---|---|
| Sorcerer dies before casting | Improve front-line survival or move the Sorcerer to a safer slot | Repeat the same stage three times |
| Waves survive too long | Test area coverage, cooldown, cast speed, or elemental scaling | Compare equal-duration clear time |
| Boss remains after waves | Add focused damage or a single-target partner | Compare boss completion, not wave speed alone |
| Farming is fast but unstable | Drop to a reliable stage or add recovery and defense | Run a longer idle-style sample |
| New gear looks stronger | Check effect and role fit before spending runes or cubes | Test one item with the old setup |
Common Sorcerer build mistakes
Copying a permanent best-in-slot list
Balance, item availability, and your current Act can change the answer. Use lists as ideas, then verify the result in your own runs.
Ignoring rotation uptime
A large spell number does not help if the Sorcerer spends too long waiting, dying, or missing the next wave.
Spending cubes before testing
A rare item can still be replaced quickly. Test the effect first and reserve expensive materials for a stable direction.
Calling a farming build a boss build
Area clear, single-target damage, and safe overnight farming reward different choices. Name the job before judging the setup.
Sources and verification
The official Steam listing is used for the game identity and current first-party context. Exact spell values, balance, item availability, and market conditions can change; verify those details in-game before making expensive upgrades. The concept image is clearly labeled as an editorial illustration, not an official screenshot.
Taskbar Hero Sorcerer build FAQ
What is the best Taskbar Hero Sorcerer build?
For most accounts, start with reliable area damage, enough cooldown or cast speed to repeat the rotation, and a formation that keeps Sorcerer alive. The best route depends on whether you are farming, pushing an Act wall, or fighting a boss.
What should a level-70 Sorcerer build prioritize?
At level 70, keep the same rule: solve the current bottleneck. Choose area uptime for wave farming, focused or burst damage for a boss wall, and survival when long runs fail before the spell rotation finishes.
Should Sorcerer use fire, lightning, or a mixed build?
Use the path that matches your current problem and available gear. Fire or another area route is practical for repeated waves, while a focused or burst option can be better when one target remains. Test before committing rare materials.
Is Sorcerer good for farming?
Yes, when the formation clears groups consistently. Measure rewards and failures over equal time, because a higher stage that fails often can be worse than a lower stage with reliable area clear.
Does this replace the general Taskbar Hero build guide?
No. This page owns Sorcerer-specific search intent. The general build guide explains cross-class roles, team structure, and broad upgrade planning; link between the two instead of merging their topics.
When should I spend runes and cubes on Sorcerer gear?
Spend them after a short repeatable test shows that the item improves the chosen job and is likely to remain useful. Avoid investing heavily in a high-rarity item that has not solved a real bottleneck.