Taskbar Hero Knight Build: Skills, Gear, Formation and Testing
A practical Task Bar Hero Knight build is a stable front line first and a damage build second. This guide separates farming, progression and boss goals, then gives you a repeatable way to test gear, runes and formation changes without calling one setup the best for every account.
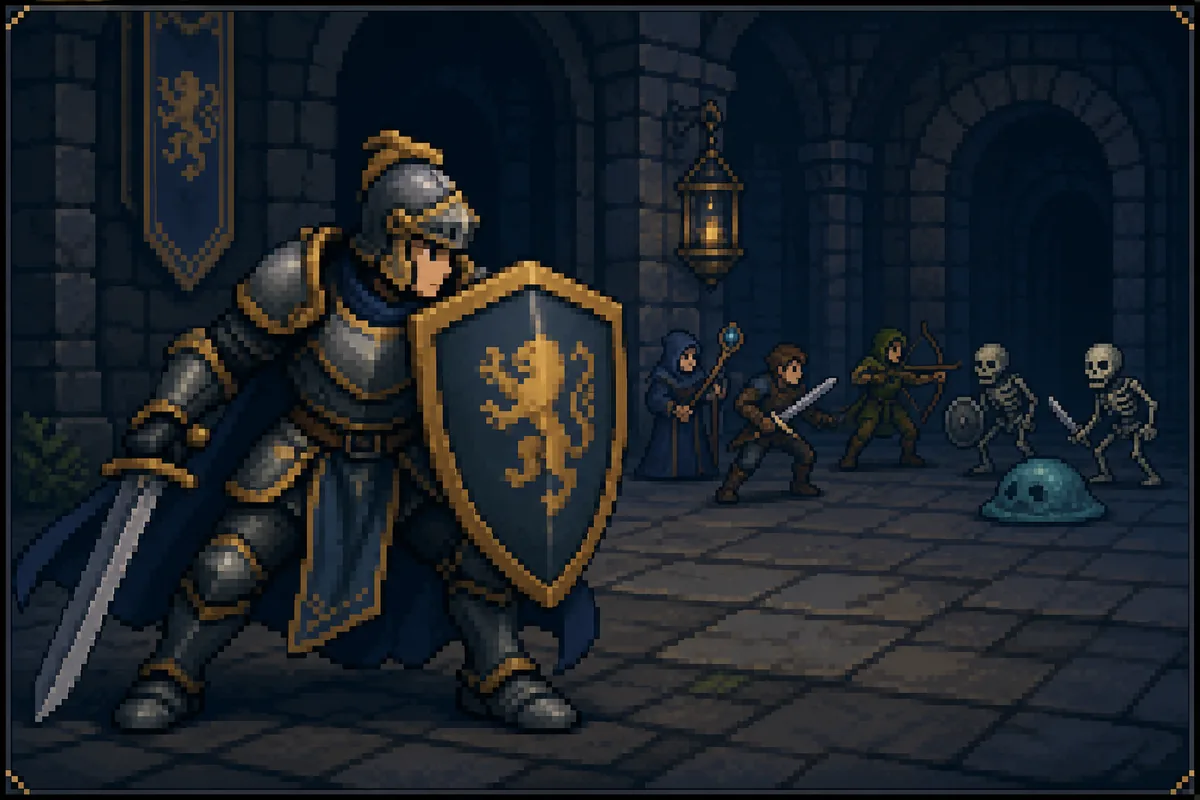
The best Taskbar Hero Knight build starts with uptime, not a single tier list
Start with enough health, defense or recovery to keep the Knight in front of the team for the whole test window. Then add the damage or attack-speed effect that solves your actual bottleneck. If a wave leaks before the back line can act, improve front-line uptime. If the wave is safe but one elite survives, shift one slot toward focused damage. The right Taskbar Hero Knight build changes with your Act, gear pool and goal.
- Use the Knight to buy time for ranged damage, support or spell rotations.
- Choose farming, progression or boss performance before choosing a stat package.
- Spend runes and cubes only after a small A/B test shows that the change solves the problem.
What a Knight build is supposed to do
The Knight is valuable because the rest of the formation gets time to work. A strong-looking damage number does not help if the Knight collapses before the next wave or if the healer and back line lose their rotation. Think of the class as a timing tool: every extra second of stable front-line uptime can turn scattered damage into a complete clear.
Before changing equipment, name the failure. Are enemies reaching the back line, is the Knight dying during a long idle session, or is one durable target surviving after the wave is already controlled? Each answer points to a different build. This prevents a common mistake in Taskbar Hero builds: stacking damage on a role whose first job is to keep the team operating.
Front-line uptime
Health, defense, recovery and safe positioning matter when the Knight dies before the team completes its rotation.
Controlled damage
Add damage after survival is repeatable, especially when a boss or elite is the only target left.
Time bought for allies
Judge the Knight by the whole formation's clear time and failure rate, not by the Knight's sheet number alone.
Skill, stat and gear priority for a Knight build
Use a simple priority order: prevent the current failure, keep the Knight active, then increase the stat that shortens the run. Early on, a reliable defensive effect is often worth more than a rare offensive roll that forces resets. Later, when the formation is safe, attack speed, cooldown, critical effects or focused damage can be tested one at a time. The best choice is the one that improves the job you actually need the Knight to perform.
Treat rarity as a reason to inspect an item, not as proof that it belongs in the build. Compare the effect, the role it supports and the time you expect to keep it. Save valuable runes and cubes for a setup that already passes a repeatable test. If the Knight still fails, more damage cannot repair a missing defensive layer.
Survival first
Fix early deaths with durability, recovery or placement before chasing a higher damage ceiling.
Rotation next
If skills or support arrive too late, test attack speed, cooldown or a formation change.
Damage last
Use focused damage or critical effects when the formation is already stable and a target remains.
Knight formations for farming, progression and bosses
For farming, put the Knight where the first impact is predictable and the back line can keep attacking. A stable lower zone can outperform a higher zone with repeated deaths, especially when you compare rewards over the same amount of time. Keep a farming formation simple enough to run without constant supervision, then change only the slot or effect that limits clear speed.
For progression and bosses, the Knight may need to hold a specific threat rather than absorb every hit. Protect the damage dealer that solves the encounter, add support when the rotation breaks, and measure the boss result separately from wave clear. A build that farms smoothly is not automatically a boss build, and a boss setup can be too slow for everyday runs.
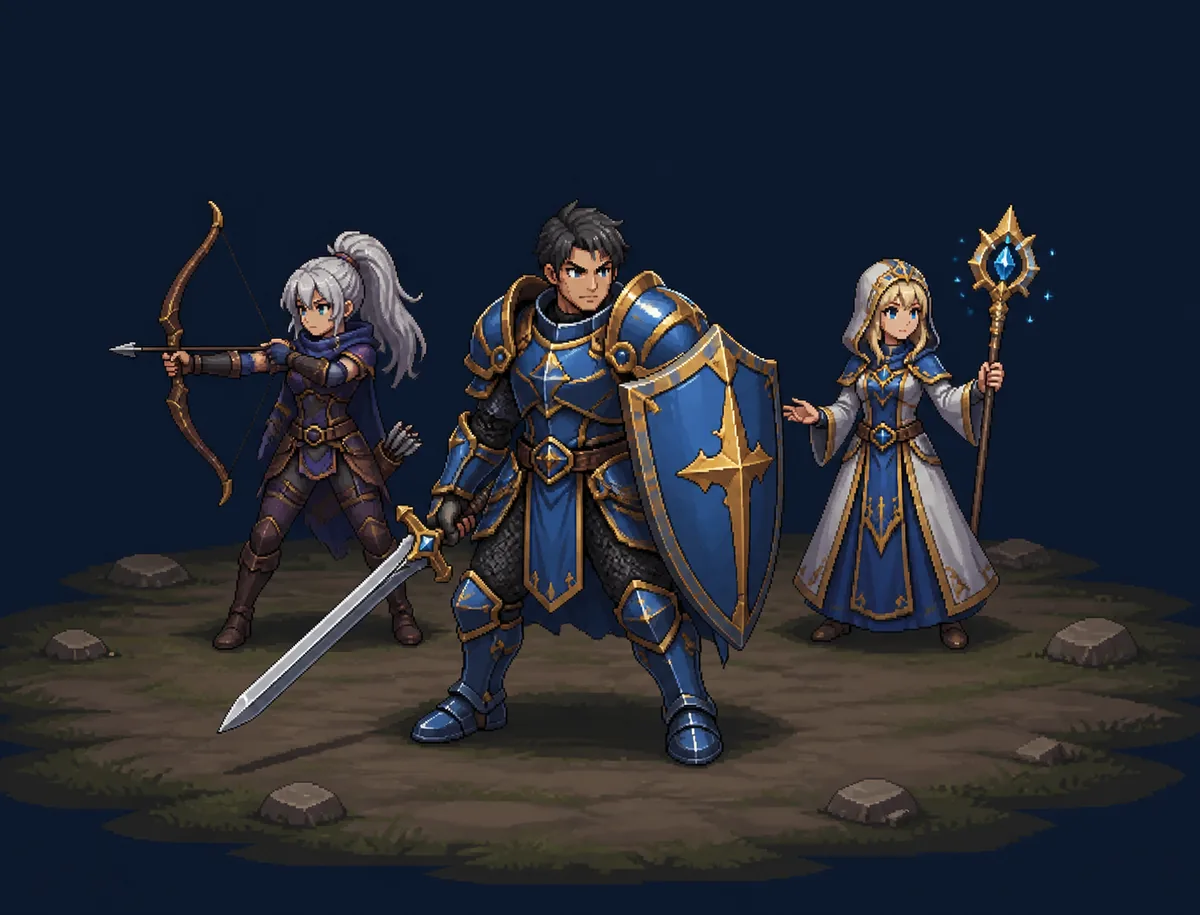
Farming
Prioritize stable clears, low downtime and rewards measured over equal time rather than the highest unlocked zone.
Progression
Use the Knight to hold the pressure point that stops the next Act, then add only the damage needed to pass it.
Bosses
Keep the key damage dealer alive and test focused damage separately from normal wave performance.
Defensive, balanced and aggressive Knight routes
A defensive route is the safest starting point when the account is still unlocking systems or when idle sessions end in a wipe. A balanced route keeps enough durability to survive while adding rotation or damage effects. An aggressive route is a later experiment for a formation that already survives and needs to beat a boss timer or remove the last elite faster.
These are not permanent classes inside a tier list. Keep a clear purpose for each route. If the defensive version completes a farming loop but the aggressive version fails twice as often, the extra sheet damage is not useful for farming. If the aggressive version wins a boss without creating new wave failures, it may be worth keeping as a separate push setup.
Defensive
Best when deaths, long idle sessions or early formation collapse are the main problem.
Balanced
A practical default when the Knight must farm and push with the same equipment pool.
Aggressive
Use for a tested boss or elite check after the formation already survives reliably.
A repeatable Taskbar Hero Knight build test
Pick the stage where the problem is visible and record a baseline before spending anything. Keep the duration, formation and target the same. Change one variable: a gear effect, a rune, a cube, the Knight's position or one support slot. Run the comparison several times because wave timing can make a single result look better than it is.
Use the metric that matches the intent. Farming needs rewards per equal time and failure count. Progression needs a repeatable clear or the highest stable Act. A boss test needs kill time and whether the rest of the wave remains safe. Keep the change only when it improves the chosen metric without creating a more expensive failure elsewhere.
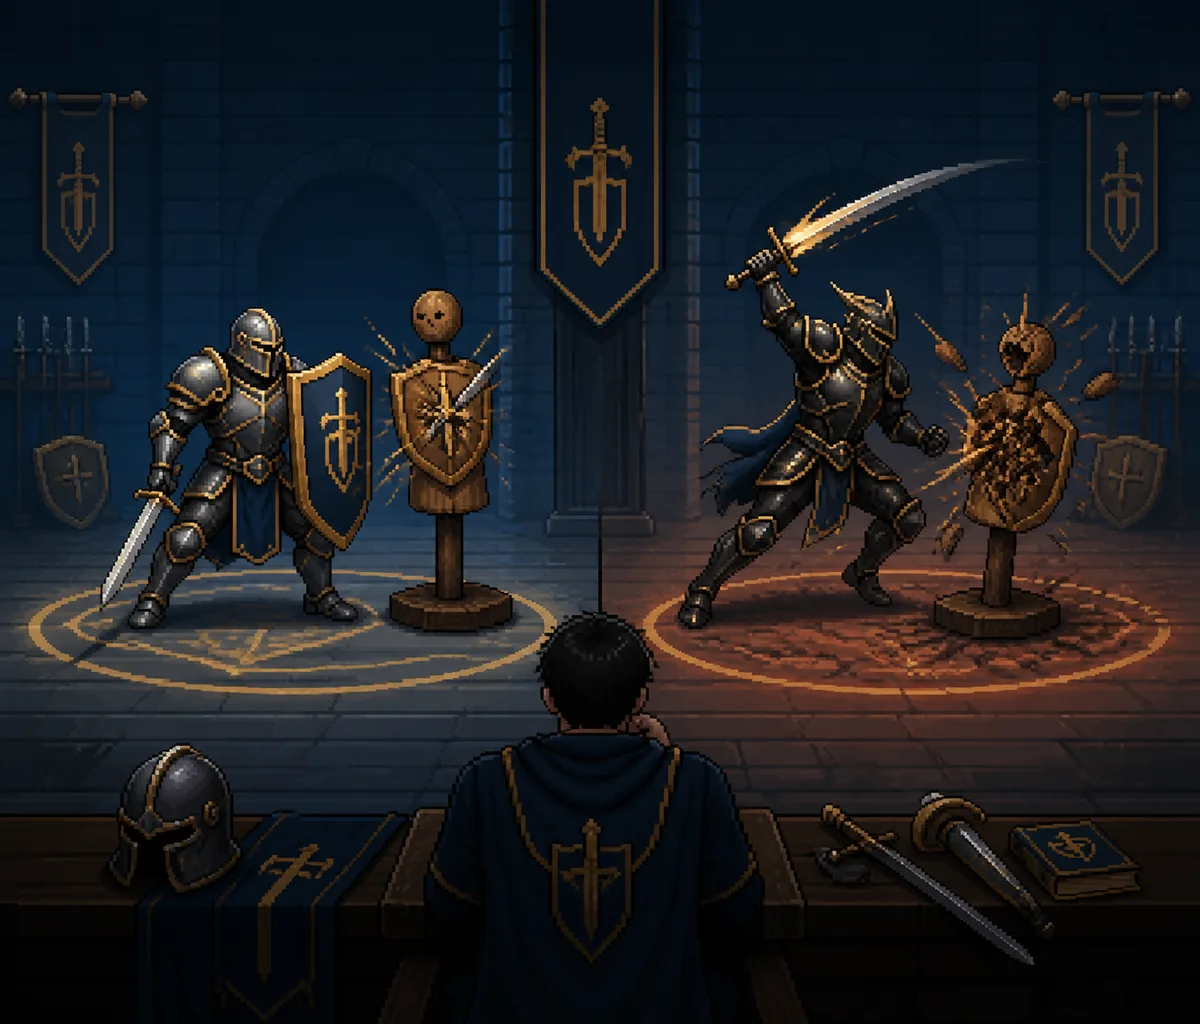
Record the baseline
Write down stage, duration, clear time, deaths, rewards and the reason the current Knight build fails.
Change one thing
Swap one effect, slot or resource at a time so the result has a useful explanation.
Keep or revert
Keep the change only if repeated runs improve the chosen goal without breaking formation stability.
Knight build troubleshooting checklist
Use the first visible failure to choose the first adjustment instead of rebuilding every slot at once.
| Failure sign | First adjustment | How to test |
|---|---|---|
| Knight dies before the first rotation | Add durability, recovery or a safer position | Run the same stage three times |
| Back line is reached by every wave | Hold the first threat with the Knight or add support | Compare deaths and wave completion |
| Waves are safe but one elite remains | Test focused damage or a damage slot | Measure elite or boss kill time |
| Farming is fast but unstable | Drop to a stable zone or restore defense | Use a longer idle-like sample |
| A rare item looks perfect | Check its role before using runes or cubes | Replace one old item for a fixed run |
Common Taskbar Hero Knight build mistakes
Copying a universal best build
A farming route, an Act push and a boss check ask the Knight to solve different problems. Treat outside builds as ideas, then test them in your own formation.
Chasing damage before uptime
If the Knight dies early, every back-line upgrade loses value. Stabilize the front line before raising the damage ceiling.
Spending rare resources before a test
A rare effect can still be replaced by the next upgrade. Test the role first and commit runes or cubes after the direction is clear.
Calling a farming setup a boss setup
Wave coverage, single-target pressure and long idle stability are separate goals. Name the goal before judging the build.
Sources and editorial note
The official Steam page is used to verify the game's identity and first-party context. Skill values, balance, item pools and class details can change, so check the current game before making expensive upgrades. The three images on this page are clearly labeled editorial illustrations, not official screenshots.
Taskbar Hero Knight Build FAQ
What is the best Taskbar Hero Knight build?
Start with the most stable front line your current gear can support, then add damage or rotation speed for the problem that remains. A farming build, a progression build and a boss build may use different priorities.
Should a Knight build focus on defense or damage?
Focus on defense until the Knight survives the full test window. Add damage after the formation is stable and a boss or elite remains as the clear bottleneck.
Is the Knight good for farming?
Yes, when the Knight lets the formation clear a repeatable zone with low downtime. Compare rewards and failures over the same time instead of choosing only the highest unlocked Act.
What should I do at Knight level 60 or 80?
Treat the level milestone as a checkpoint, not a universal final build. Re-test the current wall, then choose survival, rotation or focused damage based on what is actually failing.
When should I spend runes and cubes on the Knight?
After a short repeated test shows that the effect improves the role you need and is likely to stay in the setup. Rarity alone is not enough evidence.
Does this page replace the general Build Guide?
No. This page owns the Knight-specific build intent. The general Build Guide covers formation roles and broader upgrade decisions, so the two pages should link to each other rather than compete for the same answer.