Taskbar Hero Skills Guide: Choose, Test, and Upgrade Skills
Taskbar Hero skills are easier to judge when you connect them to a formation role and a visible failure. Separate front-line survival, damage, and support, test one change at a time, and commit rare materials only after the result repeats.
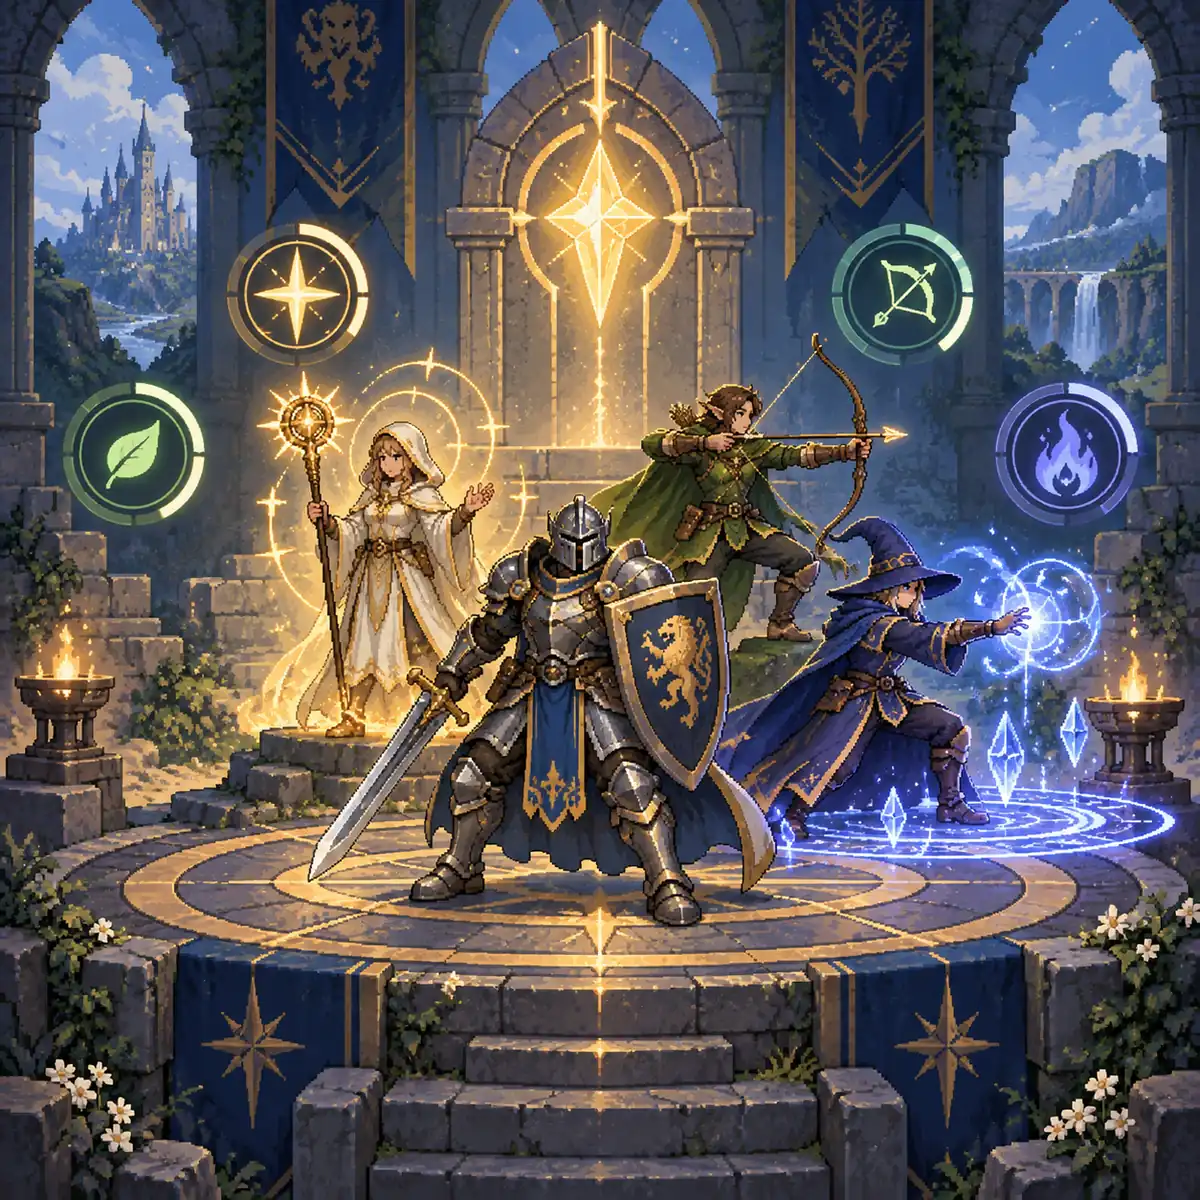
Choose Taskbar Hero skills by role, failure point, and repeatable results
Start by naming what the next run must fix rather than picking the skill with the flashiest number. If enemies survive too long, compare single-target or area damage. If the front line collapses, test defense, recovery, or a safer position. If long idle sessions fail after a good opening, value support and uptime. Equip a candidate and compare the same stage for a short, fixed window before spending runes or cubes. This separates skill selection from expensive commitment.
- Write down the role a skill must perform before comparing rarity or appearance.
- Change one skill, item, rune, or cube decision at a time so the result has an explanation.
- Treat names, effects, and costs as live-game details and verify the current in-game display after updates.
What this Taskbar Hero skills guide covers
The search for Taskbar Hero skills can mean an all-skills reference or a recommendation for a Priest, Knight, Ranger, or Sorcerer. This page owns the shared selection and testing method. It avoids claiming a permanent best list and sends class-specific decisions to the matching build guides.
| Search intent | Fit here | Best next action |
|---|---|---|
| Taskbar Hero skills | High. The page explains role-based selection and a cross-class test routine. | Name the current wall and the required role first. |
| best Priest skills | Partial. Priest candidates need the class page and the same test rules. | Read the shared method, then compare Priest paths. |
| Knight best skills | Partial. Front-line survival and rotation need separate checks. | Reproduce the first point where the Knight fails. |
| all skills | Limited. A fixed numeric list can become stale after balance changes. | Confirm names, conditions, and roles in the live game. |
The site's class build pages cover gear, formation, and skill decisions for individual roles. Use this page as the shared index, then move to a class page when the candidate is clear.
Read skills as front-line, damage, or support tools
The same skill can have a different value depending on where it sits in the formation. After reading its tooltip, record its trigger, target, uptime, cooldown, and the failure it should fix. Overlapping roles can leave a run weak even when one visible number is high.
| Role | What to inspect | When it matters |
|---|---|---|
| Front line and durability | Buys time for the back line by absorbing pressure and keeping the rotation alive. | The first rotation never completes or idle runs collapse. |
| Single-target damage | Removes a boss or high-health enemy so the next wave can begin. | Normal waves are stable but an elite remains. |
| Area damage | Hits several enemies and reduces wave stalls or timeouts. | Targets spread out and basic attacks process them too slowly. |
| Recovery and support | Extends uptime with healing, rotation, speed, or another useful effect. | Damage is adequate but a long run is not reliable. |
Roles are not permanent labels. Patch changes and equipment effects can change behavior, so compare the written condition with what the current game actually shows.
Seven steps from a skill choice to a safe upgrade
A fixed order prevents an exciting new candidate from turning into an expensive guess. Use the same steps for a new class and after a patch changes an existing setup.
- 1. Name one goal. Choose progression, a boss kill, material farming, or a stable idle window. One test needs one main success measure.
- 2. Record the first failure. Note whether the front line dies, enemies remain, the rotation arrives late, or the run stops during idle. The first break is more useful than the last large number.
- 3. Read the tooltip conditions. Check target, range, trigger, duration, and cooldown. Match the actual condition to the problem instead of assuming the name explains the result.
- 4. Change one variable. Do not swap the skill, gear, rune, and cube together. Start by changing the skill while keeping the rest of the test stable.
- 5. Run the same place briefly. Use the same stage, formation, and time window several times. A lucky critical or a favorable wave order is not enough evidence.
- 6. Check the whole outcome. Look at clear time, deaths, rewards, idle completion, and manual interventions according to the goal. A faster clear that creates repeated deaths may be a worse farming setup.
- 7. Spend materials last. Use runes or cubes only after the candidate solves the visible wall repeatedly and looks likely to remain useful. Keep a reserve for the next upgrade.
Build a skill path around the class job
A class does not need one permanent best list. Decide what job it has in this formation, then narrow candidates around that job. Ownership, gear, progress, and updates can all change the practical answer.
Knight: survival before ceiling
If the Knight dies before the first rotation, more damage rarely saves the formation. Test durability, recovery, and position first; add rotation or focused damage after the front line is reliable.
Ranger: protect the damage slot
A Ranger gains value from having time to deal repeated ranged damage. Stabilize the front line and support, then compare a single damage or speed change under the same conditions.
Priest: separate support from carry
Choose whether the current problem is survival or unfinished enemies. Compare a support route with a main damage candidate such as Holy Hammer or God's Wrath instead of trying to maximize both at once.
Sorcerer: confirm area processing
When several enemies remain, check the area skill's trigger and duration. Make sure the front line creates enough time, then measure whether area damage actually reduces the wave stall.
Test a skill setup so the result can be repeated
Before a comparison, record the current class, skills, stage, run length, deaths, clear status, and rewards. Change the skill setup only, then repeat the same conditions. If the setup needs manual input, count those interventions so you know whether the result fits an idle goal.
Use a metric that matches the intent. Progression needs a repeatable clear or a stable highest Act. A boss test needs kill time and whether the rest of the wave stays safe. Farming needs rewards over equal time and failure count. Idle play needs a completed window without repeated stops. One good number is not enough if another part of the route collapses.
When results swing, inspect wave order, equipment triggers, and front-line position before calling the skill weak. Keep the change small and delay material spending until you can explain the difference. This is the most reusable rule in a Taskbar Hero skills guide.
| Visible failure | First change | Measure |
|---|---|---|
| Front line dies before rotation | Test durability, recovery, or position once | Deaths and survival time on the same stage |
| Enemies remain at wave end | Swap one area or single-target candidate | Clear time and enemy type left alive |
| Runs pass but feel slow | Compare speed, rotation, or utility support | Rewards and interventions over equal time |
| Idle window stops repeatedly | Test support, recovery, or a safer zone | Completion rate for the chosen window |
Skill names, values, costs, and triggers can change. Treat this as a decision framework, then verify the current display before a large investment.
Common Taskbar Hero skills mistakes
Choosing by rarity alone
A rare skill still has low value when its role does not address the current wall. Start with the job and its conditions.
Changing several things at once
A full rebuild hides which skill, item, rune, or cube caused the result. Keep comparisons to one meaningful change.
Calling one lucky run the best
Wave order and triggers can produce a misleading success. Repeat the same short test and keep the candidate only when the goal improves again.
Treating an old list as permanent
A patch can change effects, costs, or available equipment. Check the in-game tooltip and official update context before copying an old list.
Taskbar Hero skills FAQ
Which Taskbar Hero skill should I choose first?
Choose the role that fixes the current wall. Use durability or recovery when the front line fails, single-target or area damage when enemies remain, and support when a long run loses uptime. Test the candidate on the same stage before upgrading it.
Should I keep an all-skills list?
A list helps you check names and conditions, but it should not be a permanent best ranking. Effects and costs can change, so confirm the live tooltip and judge the role and test result together.
Should Priest prioritize support or damage skills?
Follow the failure. If the formation survives but enemies remain, compare a main damage path such as Holy Hammer or God's Wrath. If the party collapses, test recovery and support first. Ownership and gear can change the practical choice.
Does a Knight need only defensive skills?
Start by confirming that the Knight creates enough time for the formation. After survival is stable, add rotation or focused damage. A boss setup and a farming setup may need different priorities.
When should I upgrade a skill?
After a repeated, same-condition test shows that the candidate improves the intended goal and is likely to stay useful. Keep reserve materials and do not invest just because a skill is rare or succeeded once.
Does this skills guide replace the class build guides?
No. This page owns the shared selection and testing method. The Knight, Ranger, Priest, and Sorcerer pages cover class-specific formations and gear, so reading both keeps the search intent clear.
Sources and editorial method
The game's identity and first-party context are checked against Steam. Skill values, balance, equipment pools, and triggers can change, so this page avoids unsupported permanent numbers and treats the current in-game display as the final check.
- TBH: Task Bar Hero on Steam - First-party store context for the game and its current listing.